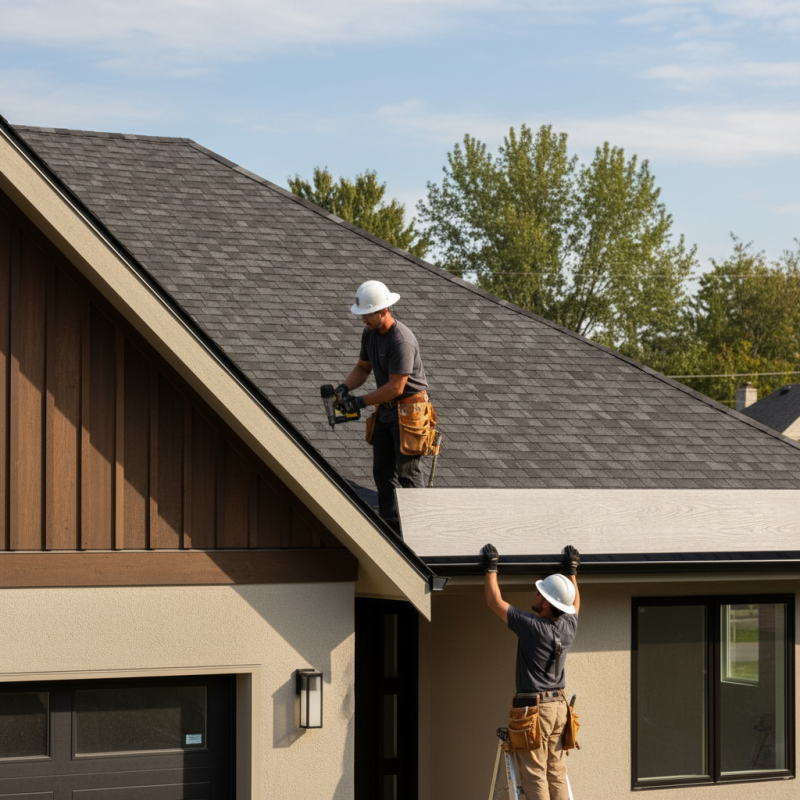
How to Install Fiber Cement Fascia Board for Long Lasting Protection
In recent years, the construction industry has witnessed a significant shift towards sustainable and durable materials, with fiber cement products gaining remarkable traction. According to a report by the Freedonia Group, the demand for fiber cement siding is projected to increase by 4.5% annually through 2025, highlighting a growing recognition of its durability and low maintenance requirements. One of the critical applications of fiber cement in residential architecture is the installation of fiber cement fascia boards, which provide not only aesthetic appeal but also essential protection against the elements.
The durability and resilience of fiber cement fascia boards make them a preferred choice for homeowners and builders alike. Studies indicate that fiber cement materials can last upwards of 50 years when properly installed, offering long-lasting protection against warping, rotting, and insect damage that are common issues with traditional wood fascia boards. This longevity, combined with their resistance to moisture and fire, positions fiber cement fascia boards as a superior option in the quest to enhance the lifespan and appearance of roofing structures. As homeowners increasingly prioritize building materials that promote sustainability and longevity, understanding how to effectively install fiber cement fascia boards becomes crucial to achieving optimal results.
Preparation for Installing Fiber Cement Fascia Board
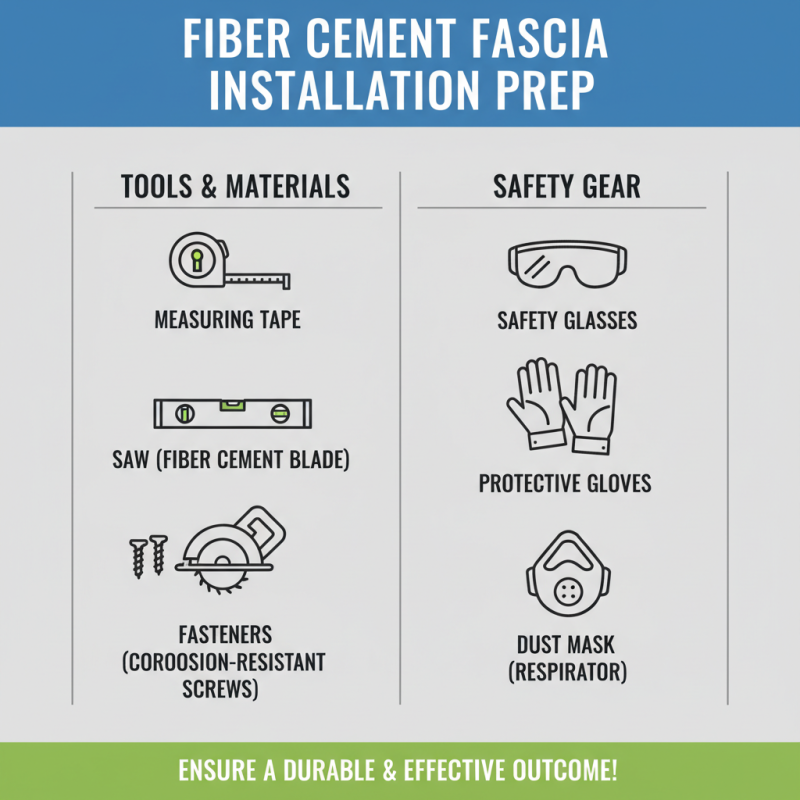
Preparing for the installation of fiber cement fascia board is essential for ensuring a durable and effective outcome. Before beginning, it's important to gather the necessary tools and materials. This typically includes a measuring tape, level, saw, and fastening materials like screws. Furthermore, make sure to wear appropriate personal protective equipment, such as safety glasses and gloves, to protect against dust and sharp edges during the process.
Once you have the required tools, focus on measuring and cutting the fascia boards accurately. Measure the length of the area where the fascia will be installed, and mark these measurements on the boards. Ensure to account for any angles or corners, as precision in cutting is crucial for a seamless fit. Additionally, check the current condition of the underlying structure to ensure it is clean and free of any rot or damage that might affect the installation. Taking these preparatory steps will lay a solid foundation for attaching the fiber cement fascia, leading to a more secure and long-lasting finish.
Tools and Materials Needed for Installation
When preparing to install fiber cement fascia boards, having the right tools and materials on hand is crucial for ensuring a smooth installation process. First, gather the essential tools: a circular saw equipped with a fiber cement blade, a drill with a screwdriver bit, a measuring tape, and a level. Additionally, safety equipment such as goggles, dust masks, and hearing protection should not be overlooked, as cutting and installing fiber cement can generate dust and noise.
In terms of materials, fiber cement boards are your main component. Ensure you have boards cut to the appropriate lengths for your project. You'll also need corrosion-resistant nails or screws designed specifically for fiber cement, as traditional fasteners may not provide the durability you need. For added protection, consider having caulk or sealant on hand to fill any gaps and enhance weather resistance. Finally, have a quality exterior paint ready if you plan to finish the fascia boards to improve aesthetics and longevity. Having all these tools and materials prepared will help streamline your installation, leading to a more successful outcome.
Step-by-Step Guidelines for Cutting and Fitting
Cutting and fitting fiber cement fascia board is essential for ensuring a durable and visually appealing installation. According to a report by the Fiber Cement Products Association, fiber cement boards can last up to 50 years with minimal maintenance, making them an excellent long-term investment for protecting your home’s exterior. Begin by measuring the areas where the fascia will be installed and mark these dimensions clearly on the board. The ideal approach involves using a circular saw equipped with a proper blade designed for fiber cement, as this will create cleaner cuts and reduce dust creation. It’s also important to wear appropriate safety gear, including a mask and goggles, to guard against dust inhalation and particles.
When fitting the boards, ensure a snug fit against the sub-framing. Allow for a slight overhang to facilitate water runoff, which is critical in preventing moisture-related issues. The American Institute of Architecture cites that proper installation of fascia boards can mitigate structural damage by redirecting water away from the roof and gutter systems effectively. Secure the boards with corrosion-resistant nails or screws, ensuring that they are driven in straight and flush with the surface. Following these guidelines not only enhances the aesthetic appeal of your home but also contributes significantly to its structural integrity and longevity, aligning with best practices in the construction industry.
Fiber Cement Fascia Board Installation Steps
Techniques for Securing Fiber Cement Fascia Board
When securing fiber cement fascia board, it’s crucial to follow specific techniques to ensure longevity and durability. Start by preparing your work area and gathering all necessary tools, including a level, a circular saw, and corrosion-resistant screws. Before installation, make sure the fascia board is cut to the right length, allowing for expansion and contraction due to temperature changes. Proper measurements will help to prevent warping and ensure a snug fit against the roofline and underlying structure.
Next, begin the installation by positioning the board correctly. Using the level, ensure that the fascia board is straight and even, as this will affect both appearance and functionality. Pre-drill holes in the fascia board to prevent splitting and use flat or pan-head screws to secure it in place, spacing them approximately 16 inches apart. Additionally, it’s recommended to leave a small gap between the board and the roof for airflow and moisture management.
Seal any joints with a suitable caulk to prevent water infiltration. Following these techniques will not only secure your fascia board but also enhance its resistance to the elements, providing the long-lasting protection you desire.
Tips for Maintaining and Caring for Installed Fascia Board
To maintain the longevity and appearance of your fiber cement fascia board, regular inspections should be part of your upkeep routine. Start by checking for any signs of wear, such as chipping or cracking, which can compromise the board's integrity. A simple visual assessment every few months can help catch minor issues before they escalate. Pay particular attention to areas where the fascia board is exposed to harsh weather conditions, as these spots may require more frequent monitoring.
Cleaning is another essential part of caring for your installed fascia board. Use a gentle solution of soap and water to remove dirt and debris that can accumulate over time. Avoid harsh chemicals or pressure washing, as these can damage the surface and finish. Additionally, ensure that gutters and downspouts are clear to prevent water buildup, which can lead to rot or mold growth on your fascia board. By incorporating these maintenance tips into your routine, you can ensure that your fascia board remains in excellent condition for years to come.
 LEAO®Deco Ceiling
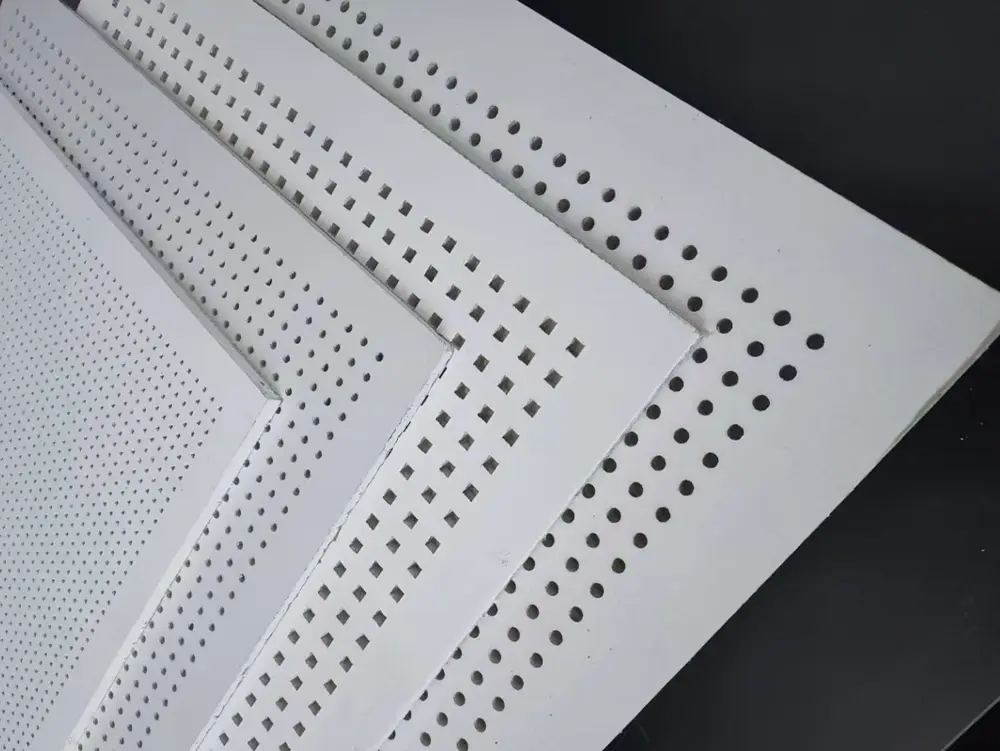 LEAO® Perforated Ceiling
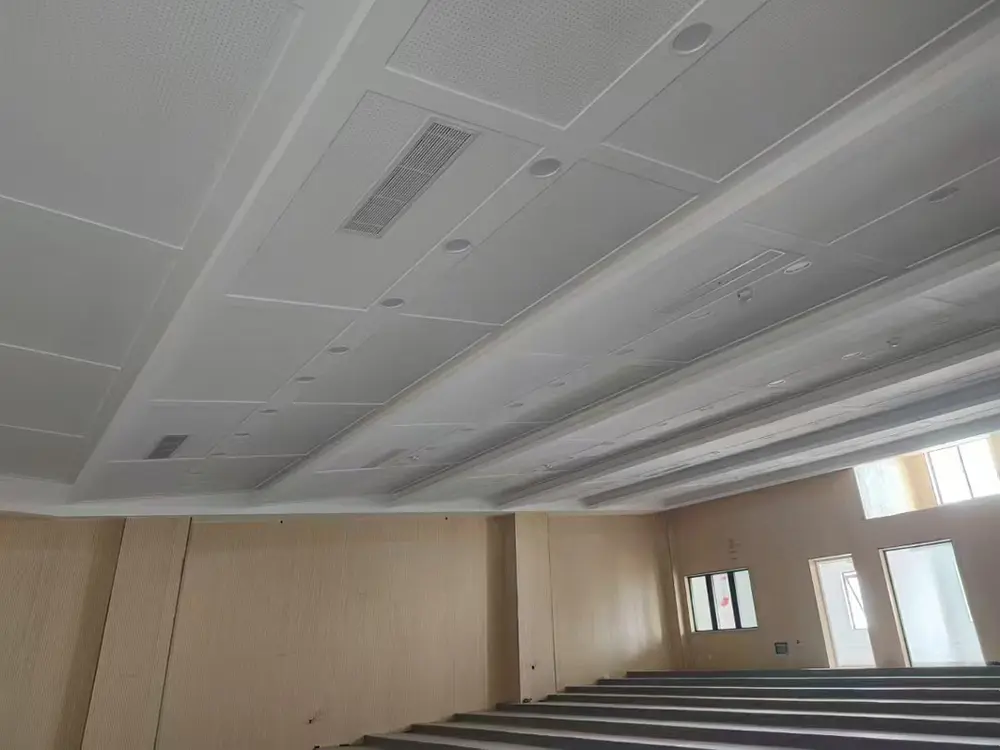 LEAO® Ceiling Board
 LEAO® Groove Interior Panel
 LEAO® Interior Board
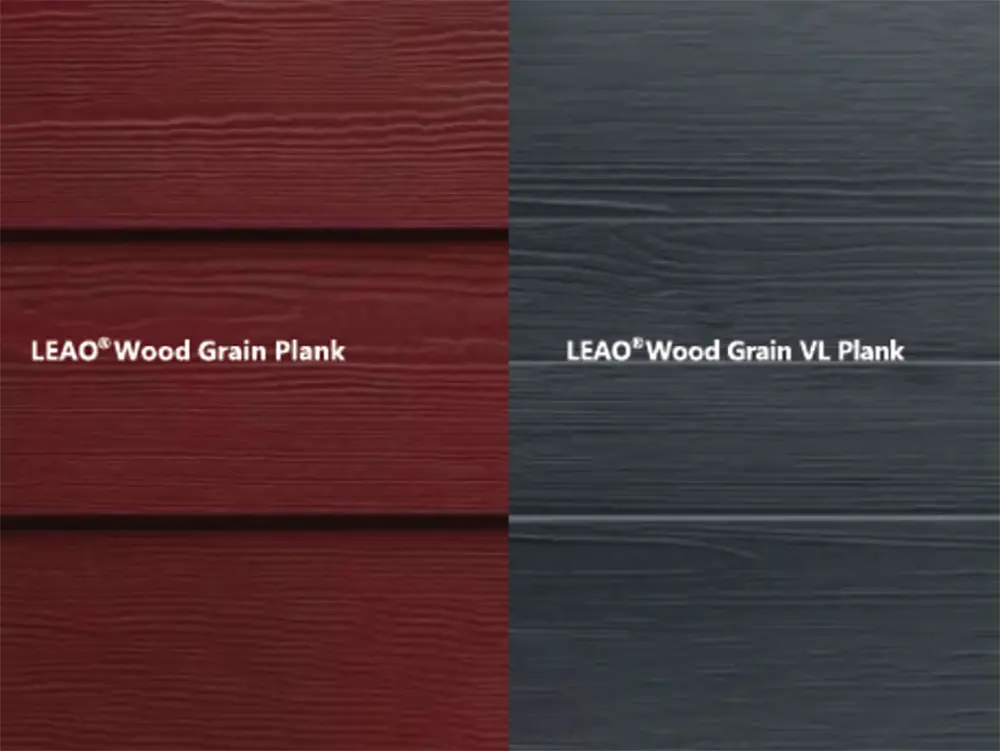 LEAO® Wood Grain Plank
 LEAO® Grooved Exterior Panel
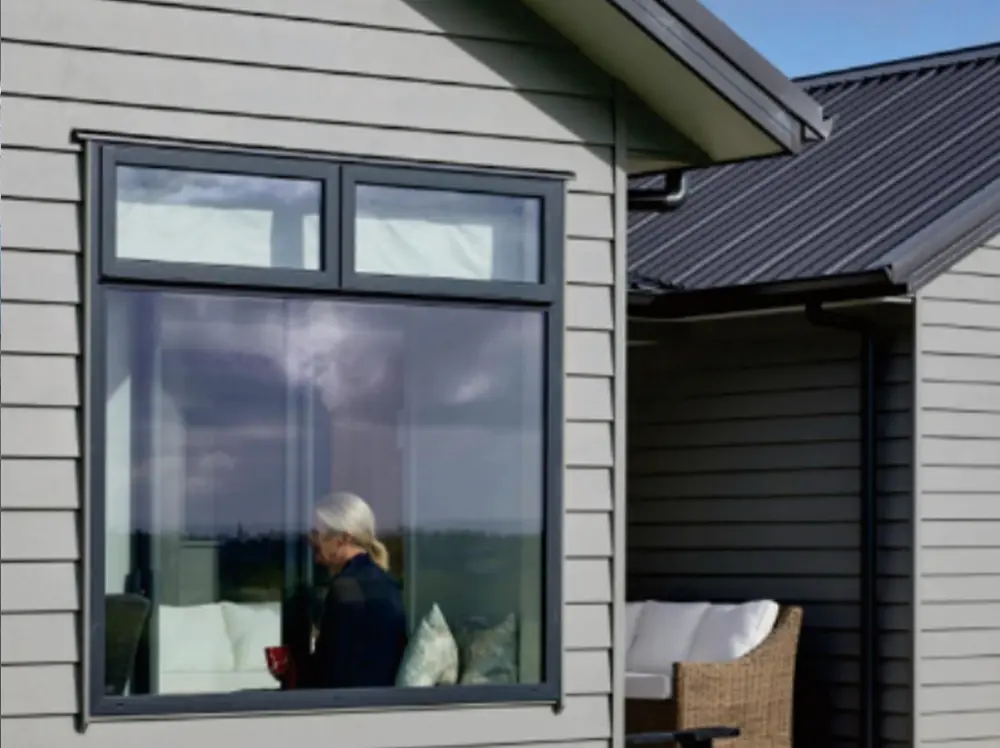 LEAO® Weatherboard
 LEAO® Access Floors
 LEAO® Non-removable Formwork
 LEAO® Mezzanine Board
 LEAO® Ceramic Tile Underlay
 LEAO® Floor Plank
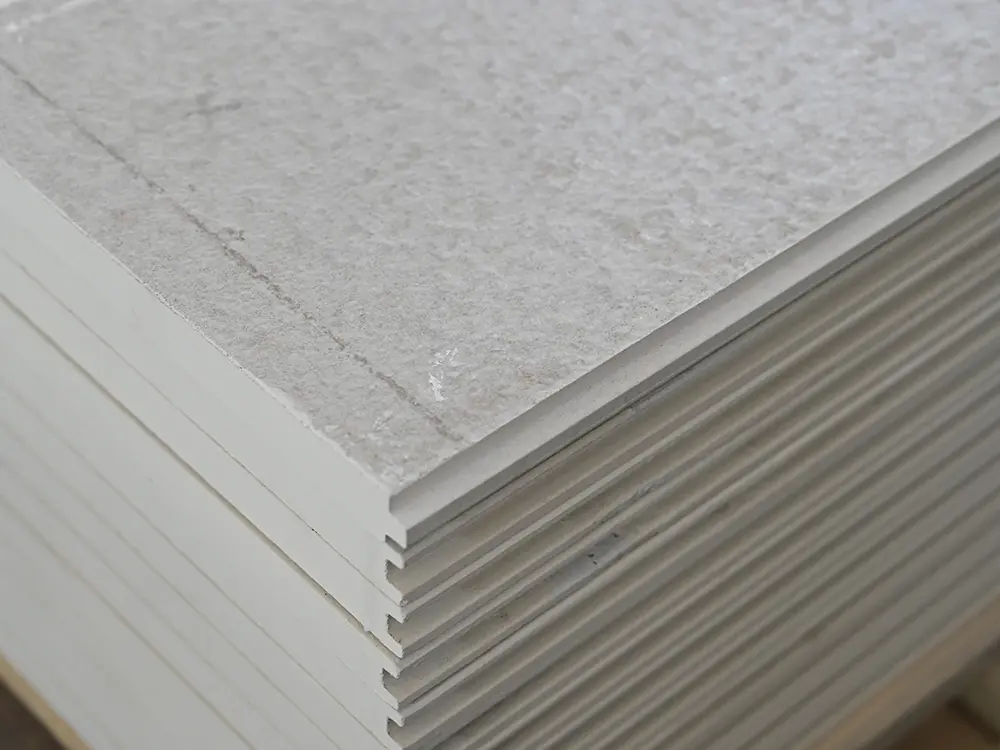 LEAO® Flooring
 LEAO® Wood Style Decorative Panel
 LEAO® Stone Style Decorative Panel
 LEAO® Pure Style Decorative Panel